DIY Cotton Face Mask
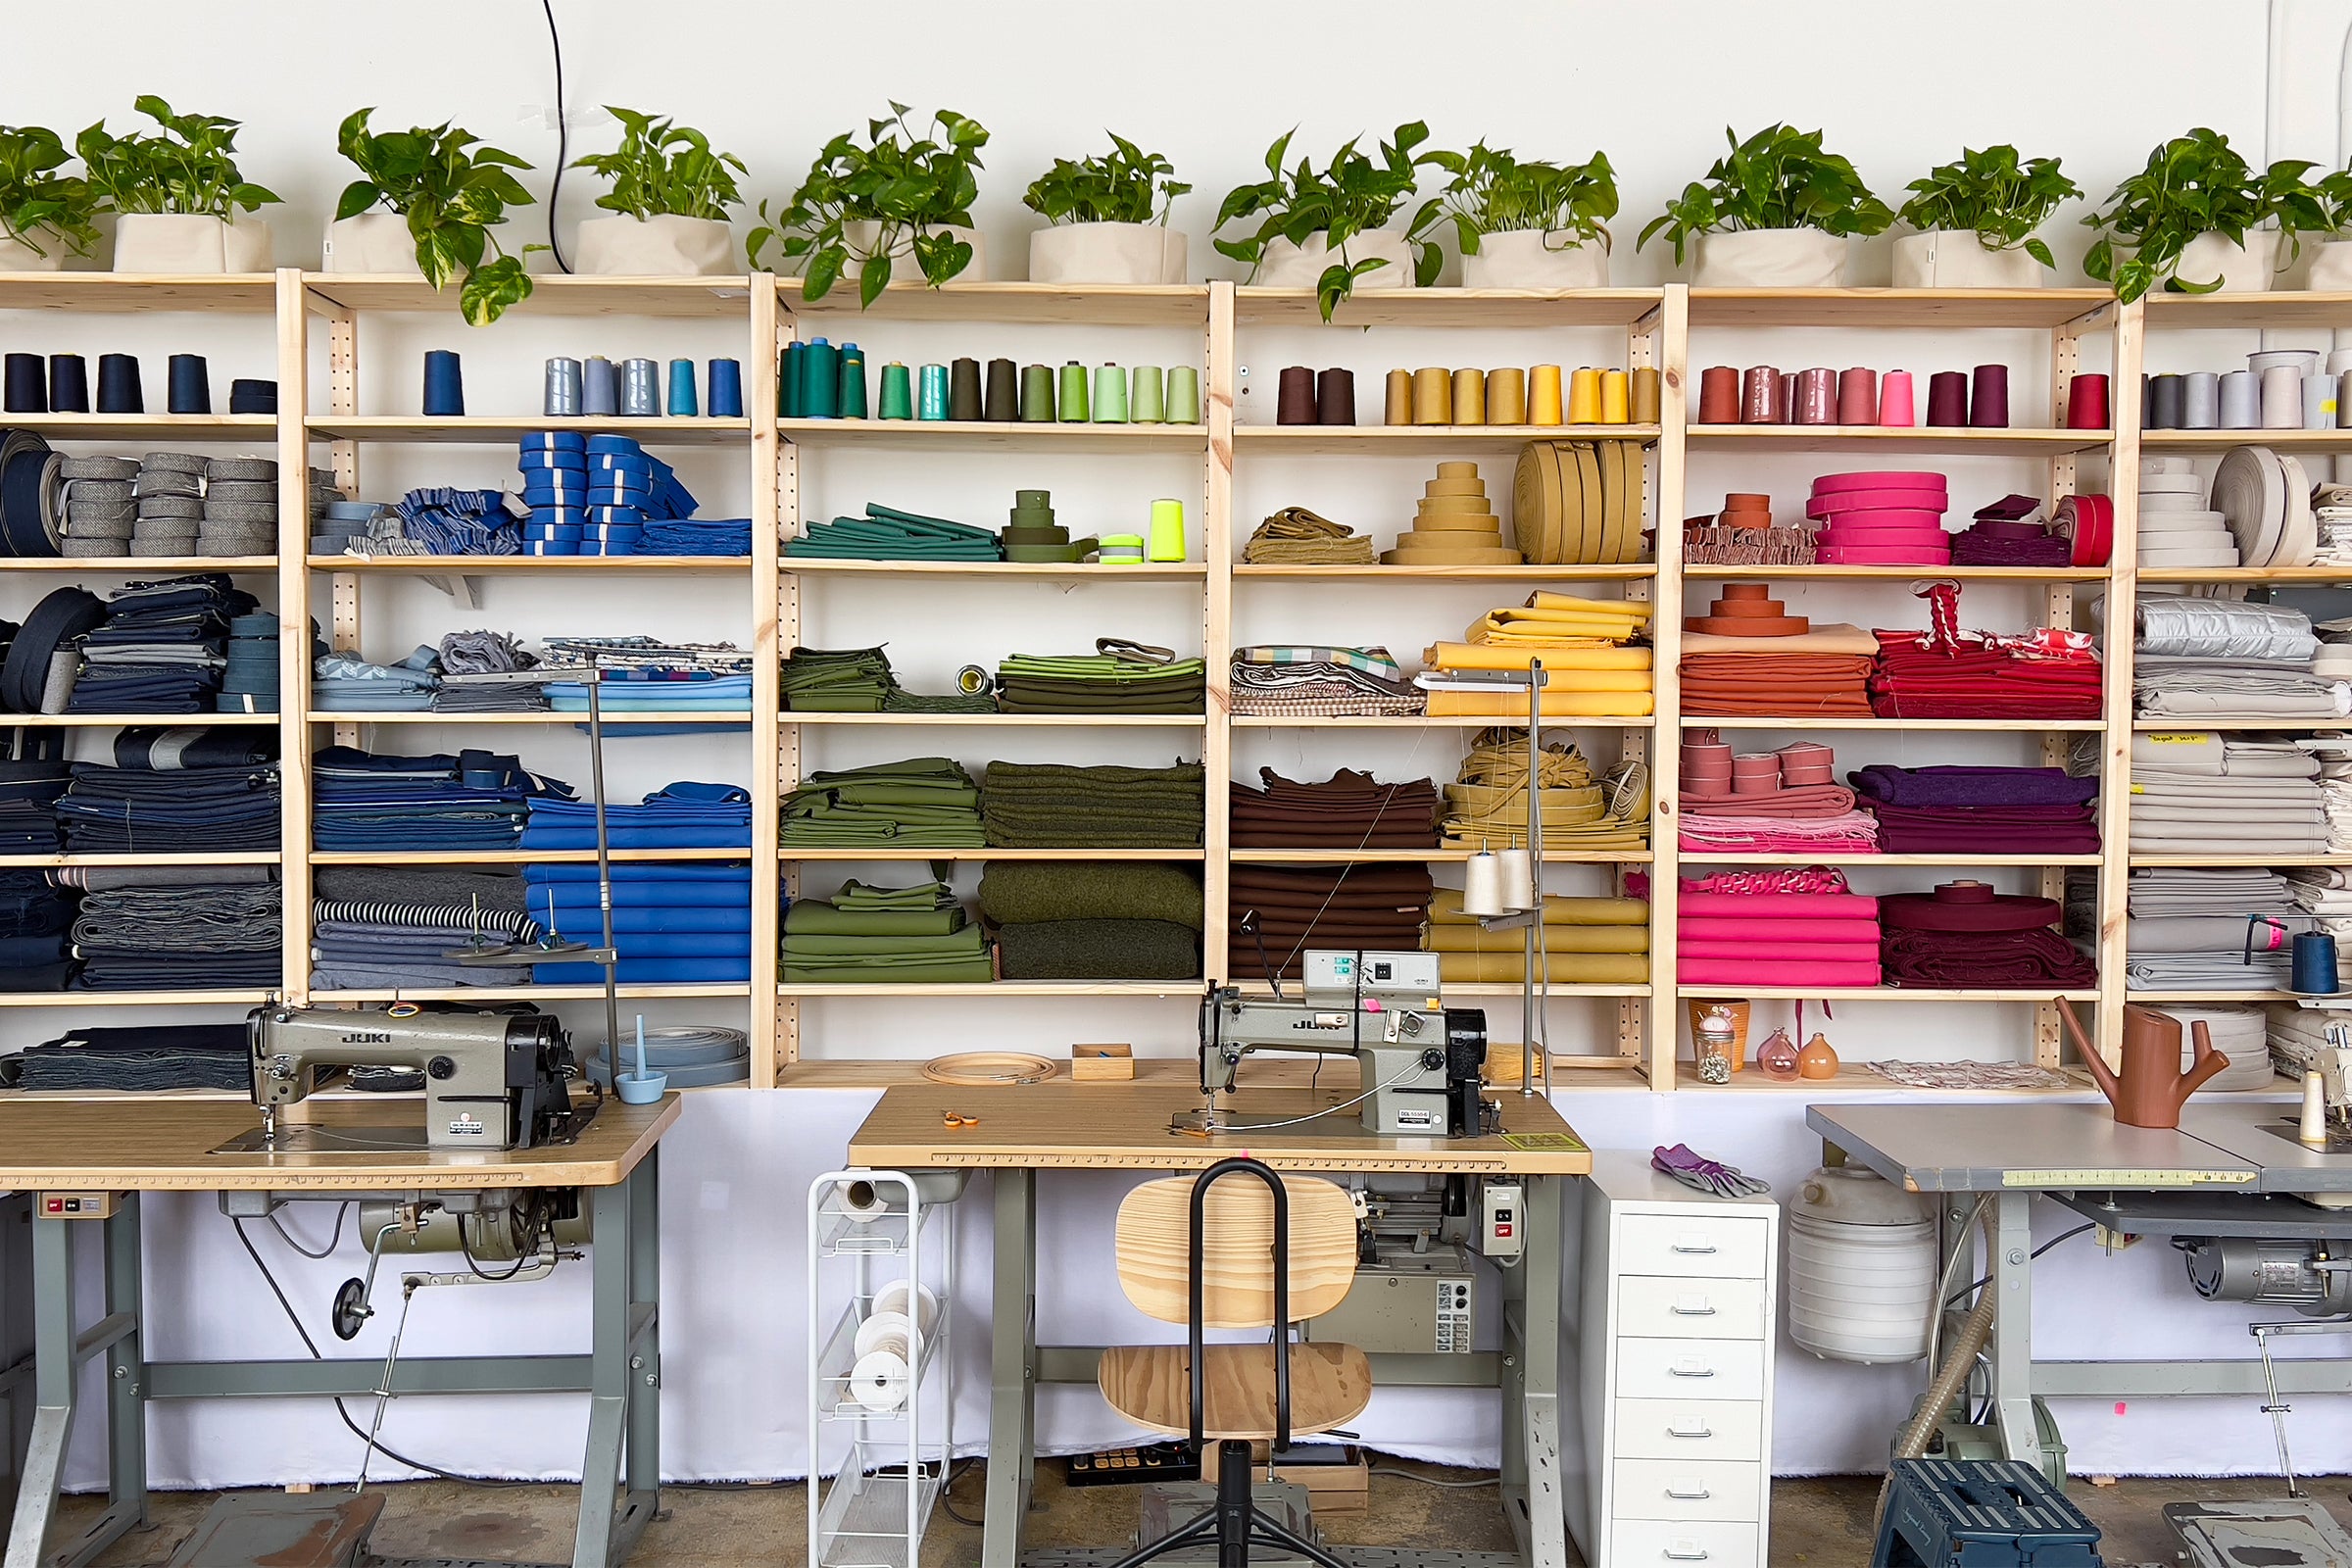
When the call to make masks for heroes began, it was time to shift focus and make protective masks for those on the front lines supporting communities and people in a time of incredible need. After researching cotton mask patterns, I found a few favorites and began to make and test each mask. I prototyped over twenty-five designs, making modifications to improve comfort and quality while maintaining Aplat’s zero waste and origami design principles.


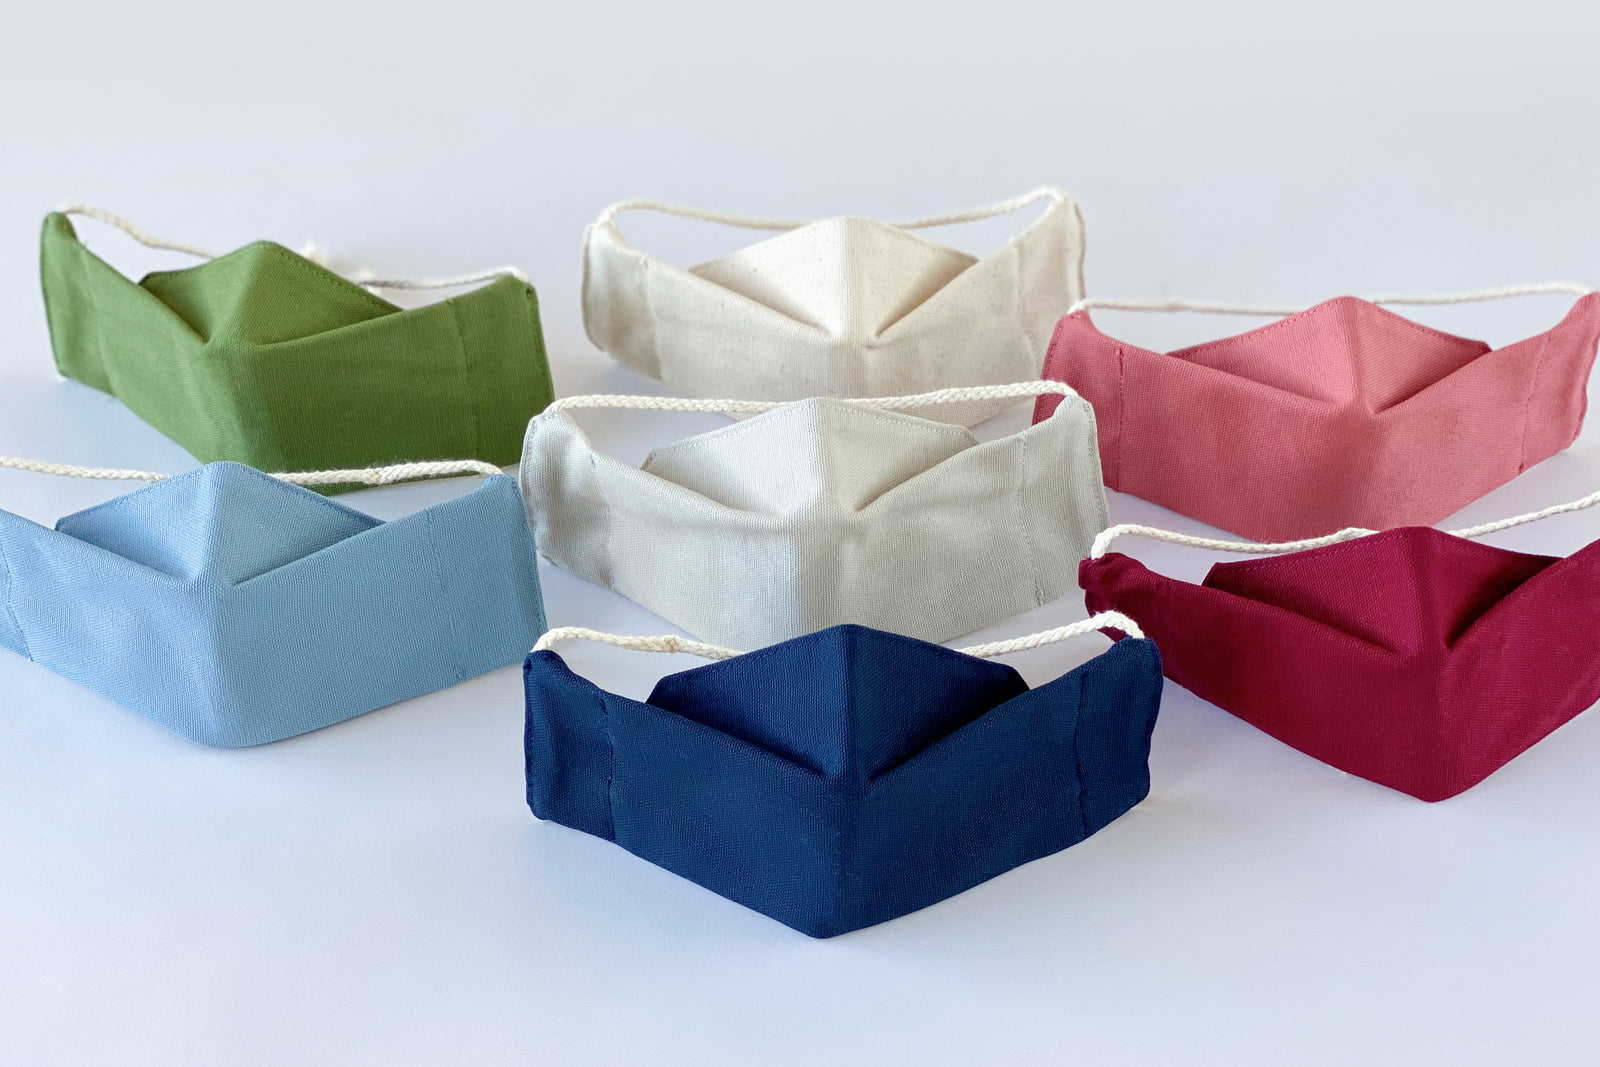
I’m excited to share with you the final Aplat Mask design. I love its simple geometry and origami folds that adjust and fit over a wide range of face shapes and sizes. This design takes the pressure off of the ears and nose. It fits perfectly with glasses and goggles, reducing fog on the lens when breathing.


The cord tie can also be worn as a lanyard, allowing the mask to hang around the neck when not in use. The mask origami design allows it to fold flat, protecting the interior from dust and contaminant particles. For an added layer of protection, the interior features an area to insert a disposable carbon filter, paper towel, or coffee filter. Carbon filters shown above are available on Amazon here.
To sterilize your mask, simply machine wash or steam press with iron for 10 minutes after each use. Visit our Mask FAQs page for more information and tips on mask care and wear.
Aplat Mask Features- Comfortable over the head adjustable strap
- Form fitting design
- Area to insert a disposable filter
DIY Instructions
DISCLAIMER:
THE USE OF APLAT'S MASK DESIGN IS FOR PERSONAL, NON-COMMERCIAL USE ONLY. You are not authorized to use the Aplat mask design for commercial purposes, including but not limited to manufacturing, distribution and sale of the Aplat mask. All intellectual property rights to the Aplat mask design are expressly reserved. ©2021 Aplat LLC | U.S. Patent Pending 29/739,249
Tools
- A sewing machine
- Scissors
- Pins or clips to hold fabrics in place
- Hot iron
- We recommend a heavy weight 100% cotton fabric 7oz-10oz at least 11” x 8”
- Cotton cord, ribbon or shoe-lace for head strap at least 47” long and ¼” diameter

Step 1:
Print the Aplat Mask pattern on a letter size sheet of paper. For younger children, scale the pattern 80% to 90% before printing. Cut out and lay the paper pattern on two layers of cotton fabric. If your fabric has a face side or patterned side, layer the two cut pieces with the face side/patterned side inwards. Trace the outline with a pen and cut.

Step 2:
Stitch around the perimeter of the mask ¼” away from the edge of the seam. This is called a top stitch. Make sure to leave ½" openings on all four diagonal corners as shown above and an opening at the bottom creating a pocket.

Step 3:
Turn the sewn pocket inside out. Loop cord (47” long) through the open holes. Please do not use elastic ties that will melt in the dryer over time and are not biodegradable.
Step 4:
Top stitch the last open edge of the mask ¼” away from the edge of the seam.

Step 5:
Fold the top and bottom flaps to the center, to become the nose and chin cover. Top stitch the sides 1¼" from the edge as shown above.

Step 5 - Kids Size:
Simply fold the top and bottom in closer, finishing the rectangle at 2.5" tall. The two side top stitch can also come in towards the center, 1.5"–2" away from each edge.

front view

top view

side view
Step 6:
Open folded top and bottom at center and press near the seam to get a crisp “butterfly” wing to form, comfortably covering your nose and chin.
Please follow CDC guidelines — maintain six feet of physical distance, wash your hands frequently and thoroughly, and do not touch your face.