It's Pickling Season
It’s fall, which means I’m craving pickled anything. I start thinking about how all the delicious summer produce turned into tangy, pickled bites. But the truth is I could pickle all year round. It’s simply the best way to reduce food waste like watermelon rinds and citrus peels.


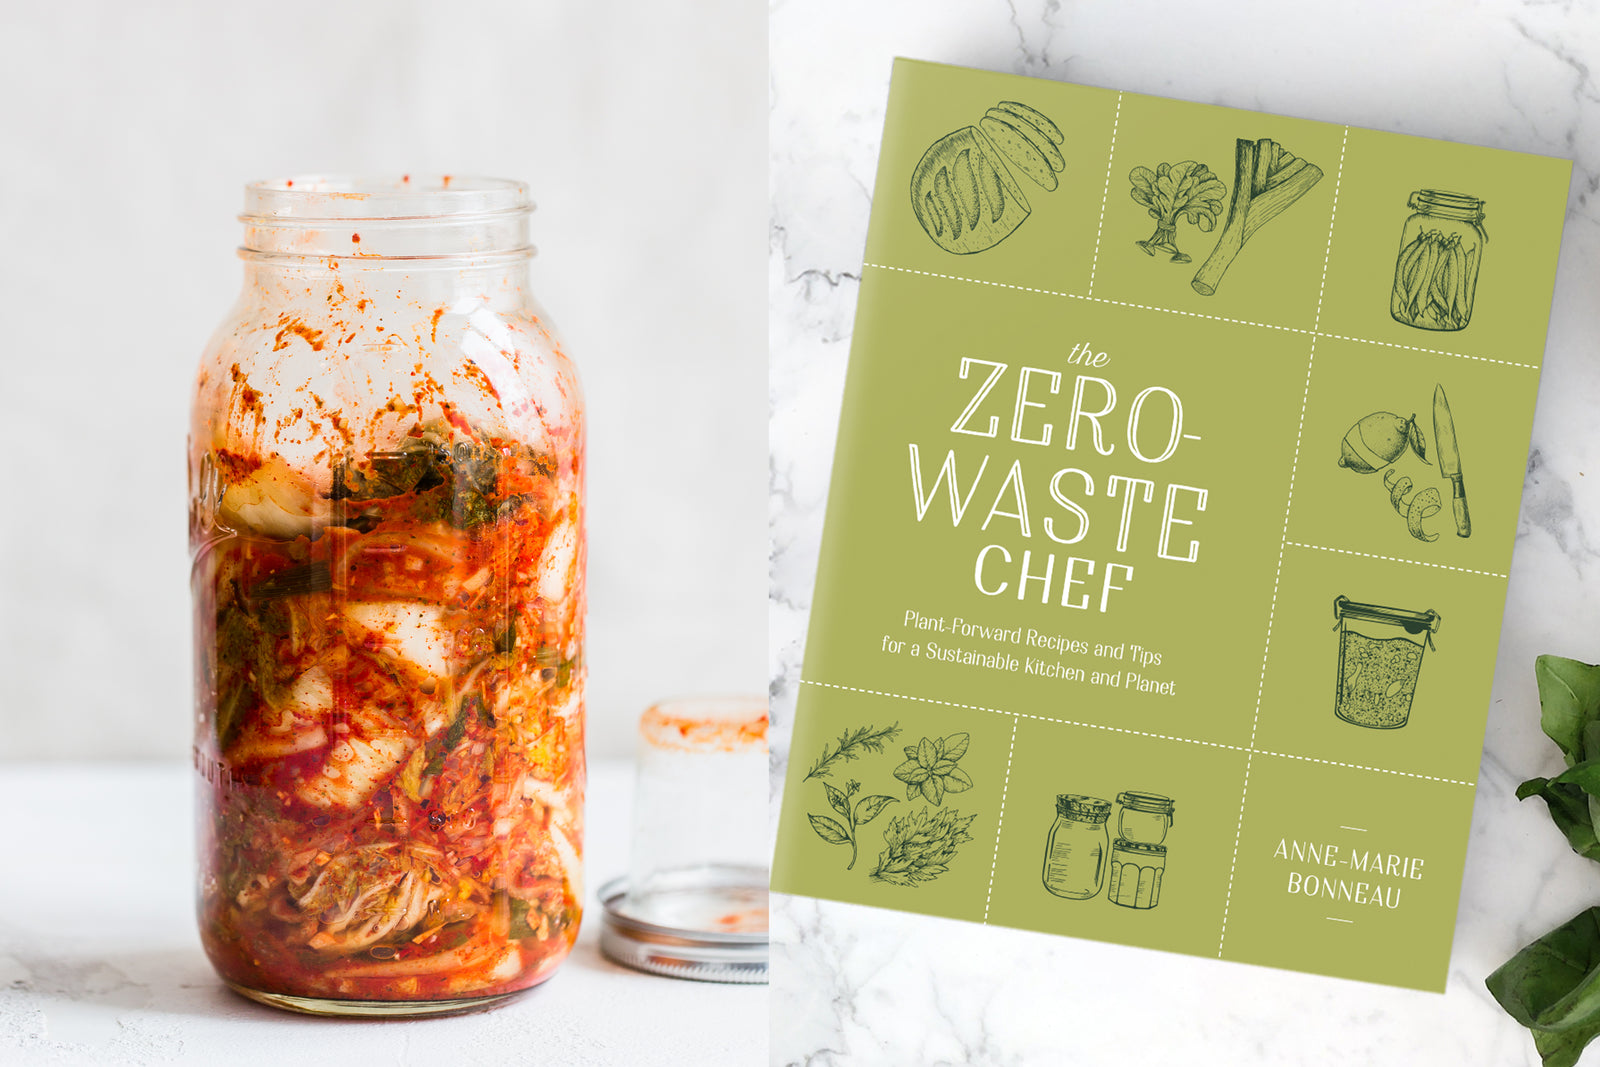
Growing up in a Korean kitchen, our family never bought kimchi, it was always homemade. The closest one I could find to mom’s recipe is by Anne-Marie Bonneau, from her book The Zero-Waste Chef: Plant-Forward Recipes and Tips for a Sustainable Kitchen and Planet.


Simple Spicy Kimchi (makes 4 cups)
The real trick to making amazing-tasting kimchi—spicy fermented cabbage beloved originally in Korea and now everywhere—is pro- curing gochugaru, a bright red, fairly coarse, hot, sweet, and smoky spice. You can, of course, substitute a smaller amount of cayenne pepper or red pepper flakes, but your kimchi won’t have the same distinctive flavor. Look for the gochugaru in Asian markets and upscale grocery stores. The type of cabbage you use also affects the flavor of your kimchi. Red or green cabbage or Savoy will ferment— you can’t stop cabbages from fermenting!—but they will lack the slightly sweet taste of napa cabbage, also known as Chinese cabbage.
Ingredients:
- 1 (2-pound) napa cabbage
- 1 (1-pound) daikon radish, cut into 2-inch-long matchsticks that are 1⁄8 inch thick
- 4 scallions (white and green parts), cut into 1-inch pieces
- 1 tablespoon plus 2 teaspoons salt, or more as needed
- 6 garlic cloves, minced
- 1 (1-inch) piece fresh ginger, minced or grated
- 1⁄4 cup gochugaru
- 1 teaspoon dried kelp granules (optional)
Directions:
Step 1
Peel off 1 cabbage leaf and set it aside. Beginning at the top of the cabbage, cut it into 2-inch-wide pieces.
Step 2
In a large bowl, toss together the cabbage, radish, and scallions. Sprinkle on the salt.
Step 3
Squeeze handfuls of the vegetables as you mix everything. This crushing helps breaks down the cell walls, which will release water. Continue to squeeze the vegetables for a few minutes until they feel quite wet and the cabbage has become somewhat limp. Taste. If you’d like more salt, sprinkle in a bit more. If it tastes too salty, you can remedy this by adding more cabbage.
Step 4
Place a plate over the vegetables and place a weight on the plate, such as a jug filled with water. Cover the bowl with a towel or a Large or Extra Large Couvre-Plat Bowl Cover and let the vegetables sit for a couple of hours.
Step 5
While the vegetables rest, in a separate bowl, combine the garlic, ginger, gochugaru, and kelp granules (if using).
Step 6
Remove the weight and plate from the cabbage. You should find liquid pooling in the bottom of the bowl. Add the spice mixture to the vegetables and combine everything well.
Step 7
Pack the kimchi into a jar large enough to hold 6 cups or pack two smaller jars that can each hold 3 to 4 cups (see page 47 on choosing jars). Pack the vegetables into the jar tightly. This will force out air bubbles and submerge the vegetables in the liquid.
Step 8
I use my bare hands for this, but depending on the spices and how much you put in, you may want to use a large wooden spoon, pestle, or, if you have one, a wooden pounder. After packing, pour in any liquid remaining in the bowl.
Leave at least 2 inches of space at the top of the jar. Stuff the reserved cabbage leaf into the jar. (If using two jars, cut the cabbage leaf in two and use half for each jar.) That alone may keep the kimchi submerged in the liquid. If you have a glass weight, place that on the cabbage leaf. A small glass jar such as a yogurt
jar also works. Closing the lid pushes the small jar down, which shoves the cabbage mixture below the surface of the liquid. If you cannot easily close the jar with the small jar inside of it, remove some of the vegetables to make more space.
Step 9
Napa cabbage contains a lot of water. In the unlikely event that the resting cabbage did not release enough liquid and the kimchi is not completely submerged in the jar, pour a bit of water in until you’ve covered the vegetables.
Place the jar on a small plate to catch any liquid that may bubble out during active fermentation. Leave the jar at room temperature for at least 3 days.
Step 10
Carbon dioxide will build up in the jar during the active fermentation, which will likely begin on day 1. During this period, open your jar daily to release the pressure. Taste daily. Depending on your kitchen, your kimchi will be ready in about 3 days. Move it to the refrigerator. It will keep for several months but tastes best if eaten within 2 months.